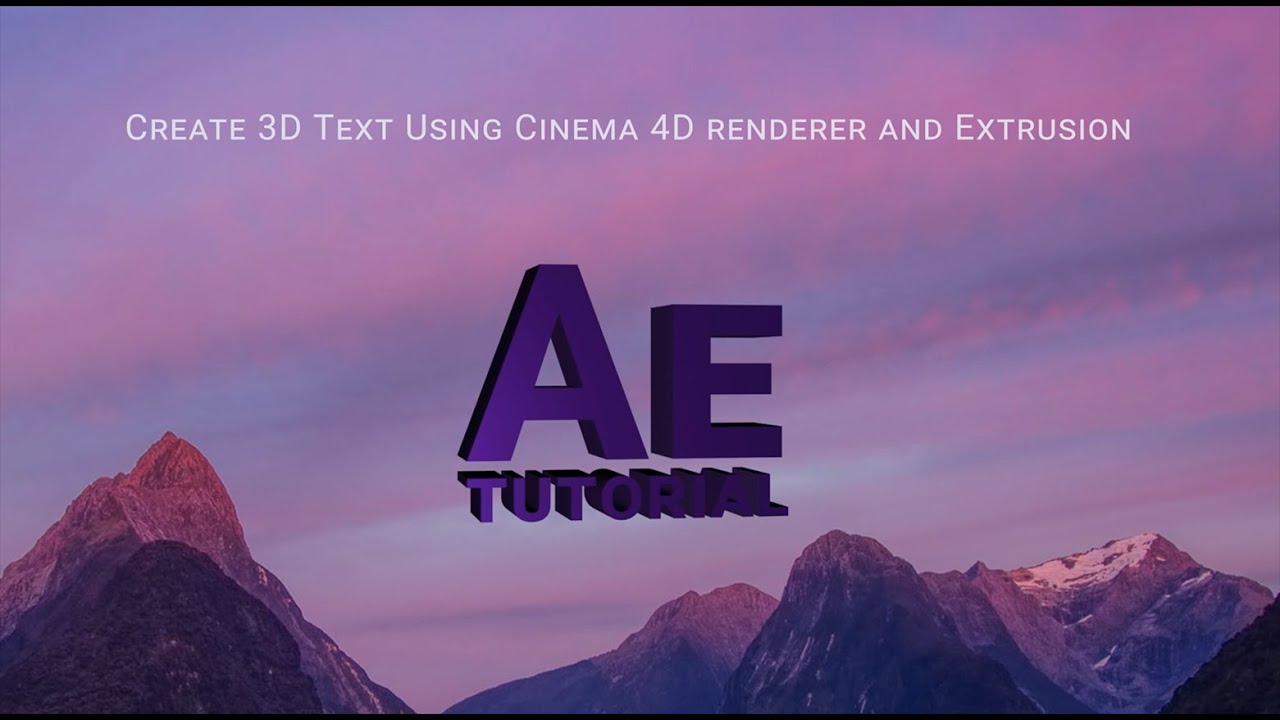
The Cinema 4D renderer inside Adobe After Effects unlocks true 3D extrusion for text and shapes — far beyond what the Classic 3D renderer can achieve. In this tutorial we'll use it to create high-quality extruded 3D text with realistic materials and lighting.
Switching to the Cinema 4D Renderer
Go to Composition → Composition Settings → 3D Renderer tab and select Cinema 4D. Note: this renderer does not support certain effects like motion blur on 3D layers, so plan your composition accordingly.
Extrusion Settings
- Select your text layer and open the Geometry Options in the layer properties. You'll see Extrusion Depth — start with a value around 40–60 pixels depending on your composition scale.
- Set Bevel Style. Choose Convex or Concave from the Bevel Style dropdown. A Convex bevel with a depth of 3–5 pixels creates a clean, professional edge highlight.
- Apply a material. In the Material Options, set the Specular Intensity to around 60% and Shininess to 50%. This gives the extrusion a subtle metallic quality without looking plastic.
- Add an Environment Layer. A solid layer set as an environment map (using the Cinema 4D renderer's environment options) reflects in the specular highlights and dramatically improves realism.
- Position lights. Use two lights — a Key light from above at 70% intensity and a Fill light from the opposite side at 25%. This creates natural shadow depth on the extrusion.
Animation
The Cinema 4D renderer works well with camera animation. Use slow, deliberate camera moves — a gentle dolly-in or a slow arc around the text. Avoid fast rotations, which can expose rendering artifacts. Add motion blur at the composition level for smooth results.